Wax Resist for Beginners: Clean Foot Rings and Crisp Glaze Lines
Wax resist is basically cheating. In the best way. It’s a water-repelling liquid you brush onto clay anywhere you don’t want glaze to stick. The foot of your mug. The rim if you’re getting fancy. Anywhere. Once it dries, glaze slides right off like water off a raincoat. Beginners usually learn about wax resist right after they’ve fused their favorite bowl to a kiln shelf and ruined a hundred-dollar shelf. Expensive lesson. But hey, we’ve all been there. Wax resist keeps your pots from sticking, your shelves clean, and your blood pressure normal. You can buy it pre-tinted so you can actually see where you painted it. Clear wax exists, and it’s a trap for newbies. You’ll miss a spot. Trust me. Get the blue stuff.
The Clean Foot Ring Hack
You want clean foot rings without grinding for twenty minutes with a diamond pad? Paint wax on the foot before you dip. That’s the whole trick. Dip the pot. The glaze covers everything except the waxed area. Peel it off if you want, or just let it burn away in the kiln. Either way, you get a gorgeous, bare clay foot that looks intentional and professional. No drips. No accidental glaze puddles that turn into sandpaper. Your kiln shelves will thank you. Actually, your kiln shelves won’t talk. But if they could, they’d say thanks. Clean foot rings separate amateur work from stuff that looks like you know what you’re doing. And you barely had to do anything.
Get Obsessive About Crisp Glaze Lines
Wax resist isn’t just for bottoms. It’s a brutal, effective way to get razor-sharp glaze lines. Want that top half blue and that bottom half white without them bleeding into a sad, muddy gray? Paint a line of wax. Let it dry. Glaze the top. The wax repels the glaze. Then peel the wax and glaze the bottom. Boom. Crisp edge. No bleeding. No praying to the kiln gods. You can layer designs, do stripes, or block off handles. It’s low-tech and bulletproof. Tape can work, but it lifts and leaks. Wax sinks into the pores. It’s meaner. I like meaner.
Let It Dry, or Regret Everything
Here’s the thing. If you glaze over wet wax resist, you’re in for a bad time. The glaze will bead up weird, crawl, or just look like a disease. Let it dry completely. Usually fifteen minutes, maybe thirty if you went thick. And don’t go thick. Two thin coats beats one globby coat every time. Thick wax flakes off, takes clay with it, and leaves craters. Also, wax resist stinks when it burns. It’s basically wax. It smokes. Ventilate your kiln room or your roommates will think you’re cooking a candle factory. Open a window. You’ve been warned.
Use a Brush You Hate
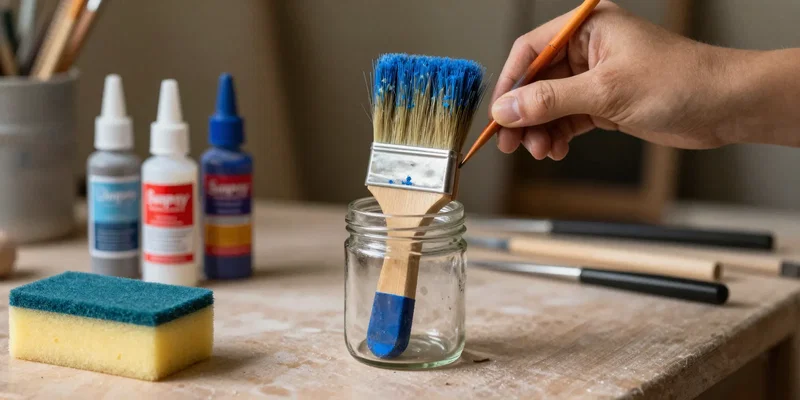
Wax resist destroys brushes. The wax dries hard as plastic in the bristles. Soap and water help, but eventually, that brush is toast. So grab a cheap chip brush from the hardware store and call it your wax brush. Hide your good watercolor brushes. Seriously. Hide them. The tinted stuff usually cleans up okay if you rinse immediately, but that waxy film never fully leaves. Some people heat their wax and use it hot. That’s overkill for beginners. Stick with the liquid bottled stuff. It’s cheap. It works. It makes beginner glazing about ten times less stressful. Grab a bottle. Your pots will look better by this weekend.