How to Mix a Stable Clear Cone 6 Glaze for Mugs and Bowls
Most clear cone 6 glazes are ticking time bombs. You slap it on a mug. Gorgeous. Three months later, spiderweb cracks everywhere. Or worse, it clouds up like milk and ruins your perfectly thrown bowl. I've been there. The problem isn't your firing. It's usually the glaze. Commercial clears often prioritize shelf appeal over stability. They want it to look wet and shiny in the bottle. Who cares if it crazes later, right? Actually, you care. Because a stable glaze means your mugs survive the dishwasher. Your bowls don't leak. Here's how to mix one that won't betray you.
Grab These Four Ingredients and Stop Overthinking It
You don't need a chemistry degree. You need Ferro Frit 3124, silica, EPK kaolin, and some whiting or wollastonite. That's the backbone of almost every reliable clear cone 6 glaze out there. Frit melts cleanly at cone 6. Silica gives you the glass. Kaolin keeps it suspended so it doesn't turn into concrete at the bottom of your bucket. The calcium? That's your durability anchor. Mix your fluxes conservatively. Too much flux and your mug glaze runs down the shelf like honey. Too little and you get orange peel. Aim for a balanced ratio where silica and alumina sit in the happy middle. Not sure about exact percentages? Start with a base recipe from a trusted ceramic supplier and tweak from there. Honestly, the materials matter more than the magic formula.
Weigh Your Dust Like a Pharmacist
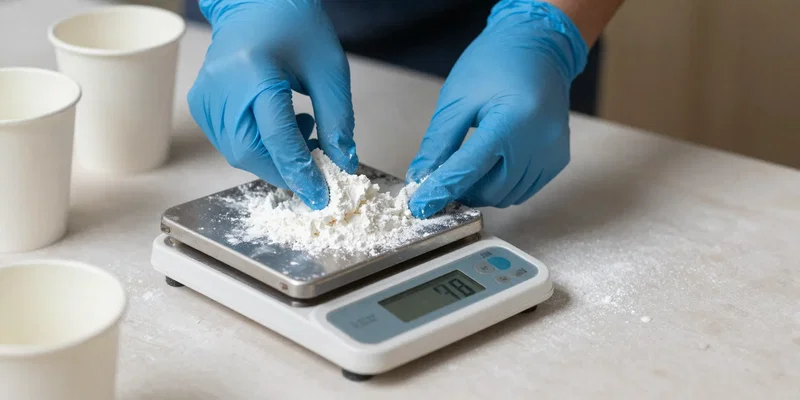
Eyeballing is for seasoning steak. Not glaze. Get a digital scale that reads in grams. Zero your container. Add your frit. Zero again. Silica. Zero. Kaolin. If you're lazy here, you'll pay later with weird texture and inconsistent batches. Dump everything into a bucket of water first. Not the other way around. If you throw water onto powder, you get lumpy cement. Nobody wants that. Blend it with a drill mixer until it looks like a milkshake. Then check the specific gravity. For dipping mugs and bowls, you're usually hunting for around 1.45 to 1.5. Thick enough to coat, thin enough to even out. Adjust with water. Or let it evaporate if you went overboard.
Sieve It Twice or Regret It Forever
Here's the thing. Your blender lied to you. There are still chunks in there. Tiny silica pebbles waiting to ruin a rim. Pour the whole batch through an 80-mesh sieve. Then do it again. Yes, twice. I know it's annoying. But a stable glaze needs to be uniform. Lumps cause pinholes. Pinholes host bacteria parties in your bowl glaze. Pass it through, scrape the screen, wash the screen. Then let it sit overnight. In the morning, the heavy stuff drops out. Stir it back in with a whisk. If it feels thick, add a splash of water. If it's thin like coffee, leave the lid off for a day. Glaze has a personality. You just have to listen.
Fire Test Tiles Like Your Reputation Depends on It
Never. Ever. Glaze a full kiln load of mugs with an untested clear. That's pottery suicide. Dip five test tiles on your actual clay body. Fire them. Then inspect. Hold the tile up to a light. Look for crazing. Scratch it with a knife. Check if it's truly clear or if it went cloudy. Put a drop of red wine on it and let it sit. If it stains, your stable glaze isn't actually stable. It might need more silica. Or less flux. Or maybe your kiln is lying and you're firing too hot. Adjust. Refire. Test again. Only when those tiles come out bulletproof do you touch your real work. Patience isn't sexy. But neither are cracked bowls.
Dip It, Don't Paint It
For mugs and bowls, dipping beats brushing every single time. Brushing leaves streaks. It traps air. It takes forever. Mix your clear cone 6 glaze thin enough for a three-second dip. Hold the mug by the foot. Submerge it. Count to three. Pull it out. Let the excess drip back into the bucket. Quick. Clean. Consistent. If you're glazing bowls, glaze the inside first. Let it dry. Then the outside. That way you don't fingerprint your own work. And wipe the feet with a damp sponge immediately. Dried glaze on the foot will glue your piece to the shelf. Then you're not making pottery. You're making expensive kiln furniture. Stop when it looks right. Fire it. Move on.